
Recapping a Sega Game Gear
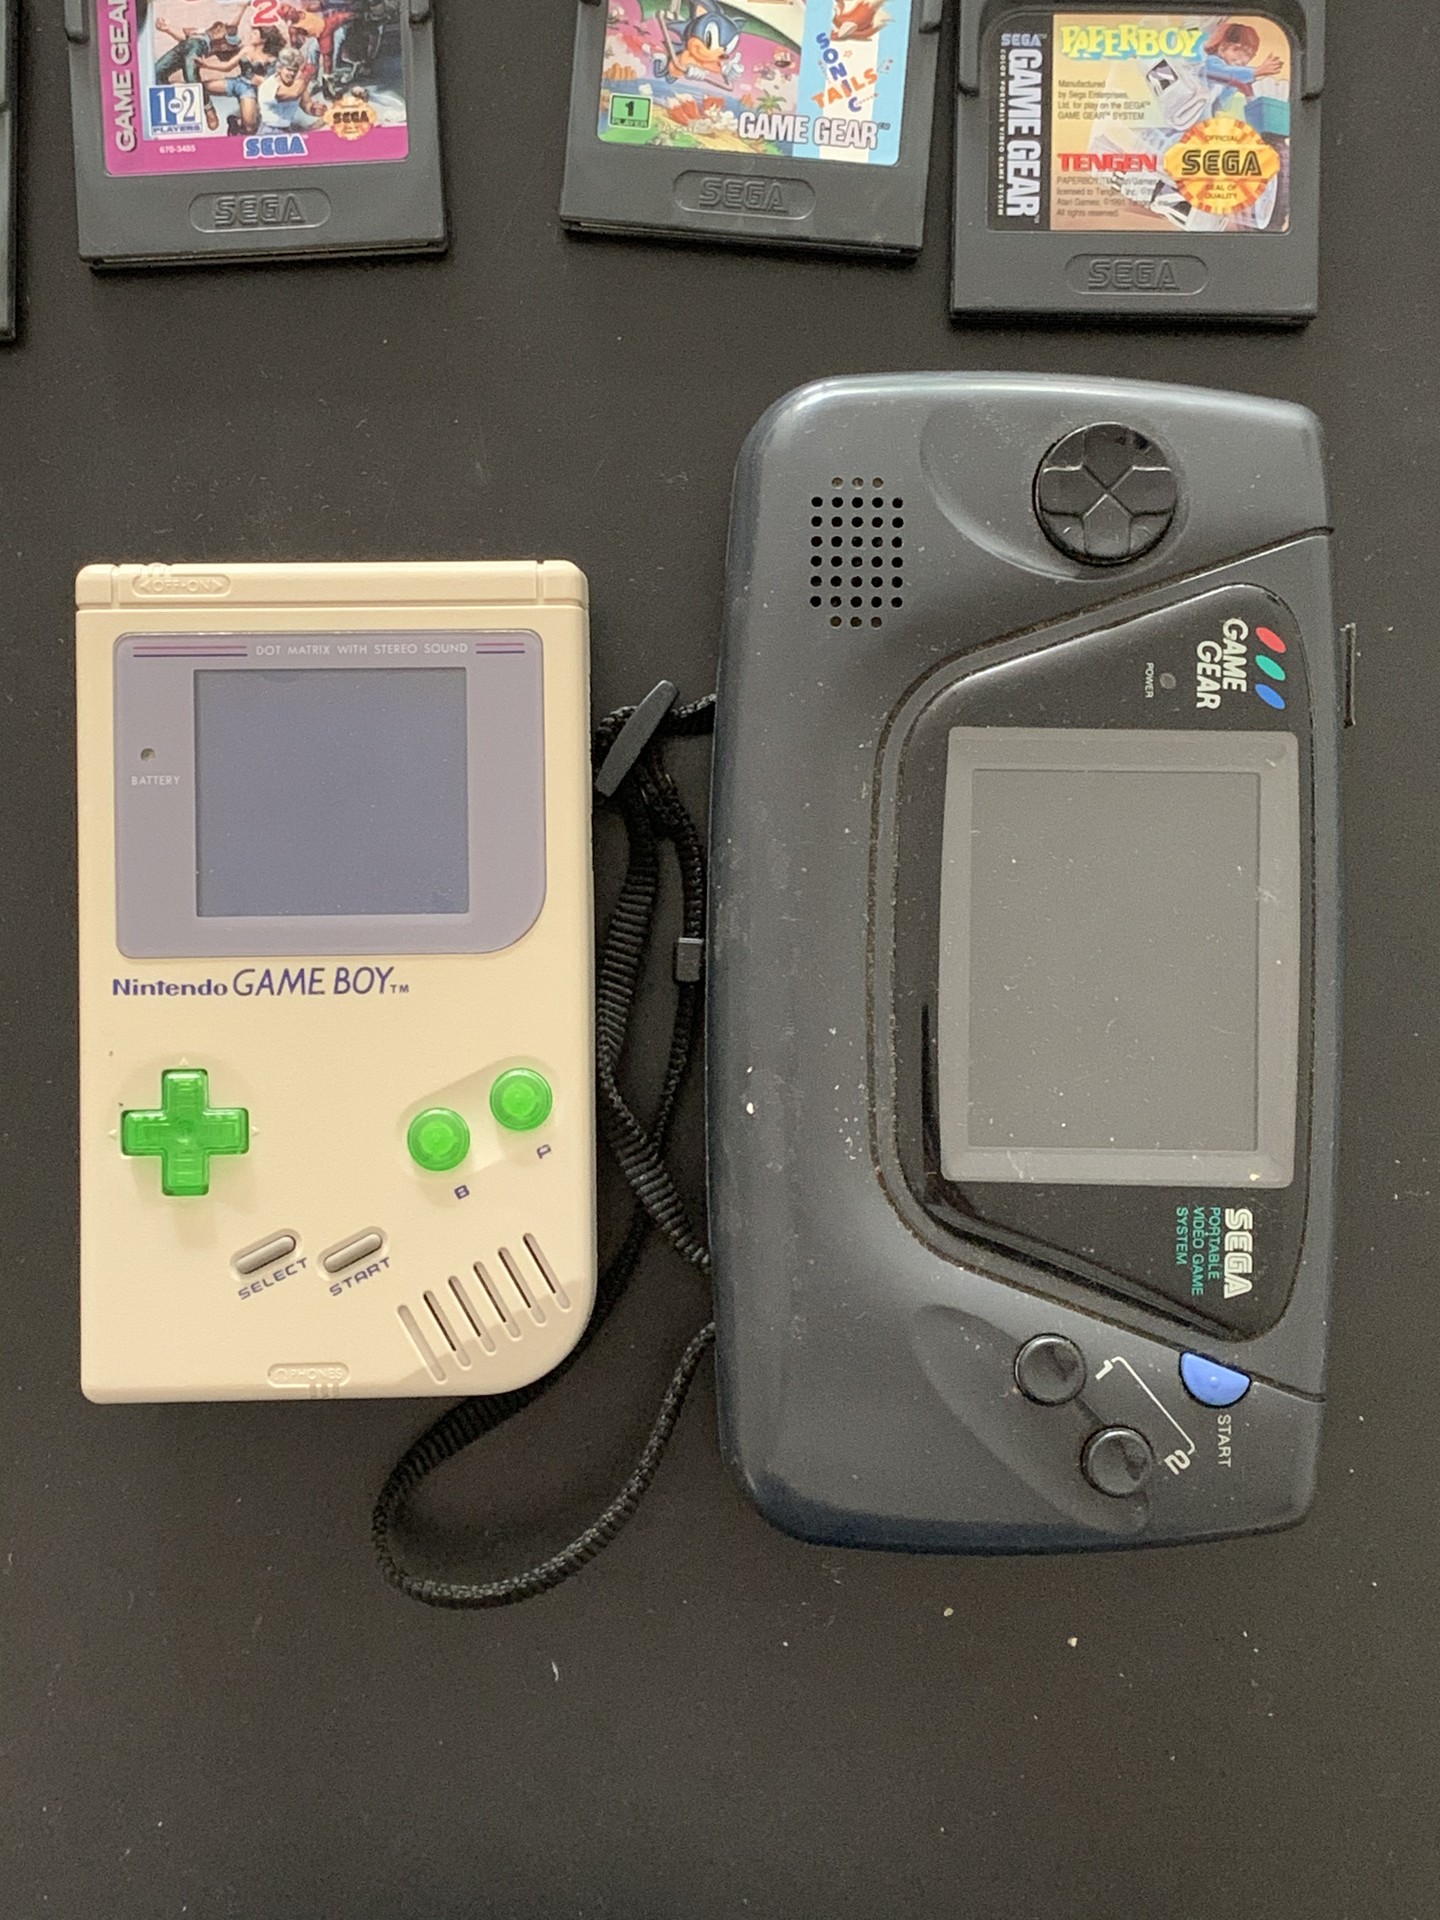
I’ve always been a Nintendo kid, never had a Sega console. Wait, that’s not true, I still have the Dreamcast that I bought new when they went on sale. It has turned very yellow, unfortunately. Anyway, I’m digressing, the Sega Game Gear… It was big, it was bulky and the battery life was bad. Apparently you could only get 3-5 hours of game play out of 6(!!) AA batteries. Just look at the thing compared to a DMG!
I decided to pick a broken one up for cheap (~50 euro) to see if I could fix it.
The seller claimed that the light went on, but the screen didn’t show anything. Typical symptoms for Game Gears listed as broken. The Game Gear is know for having low quality capacitors that start to leak over time and when they do the display will hardly work or not at all. I bought a kit of ceramic capacitors from RetroSix. The ceramic capacitors are much smaller than the low quality electrolytic ones, plus they don’t leak.
There are quite a few to replace on the main board, audio board and the power board, but it’s not too bad. It’s good for soldering practice anyway. 😅
Unfortunately I didn’t take any good images of the process, but RetroSix has an extensive guide to show you which components you need to replace.

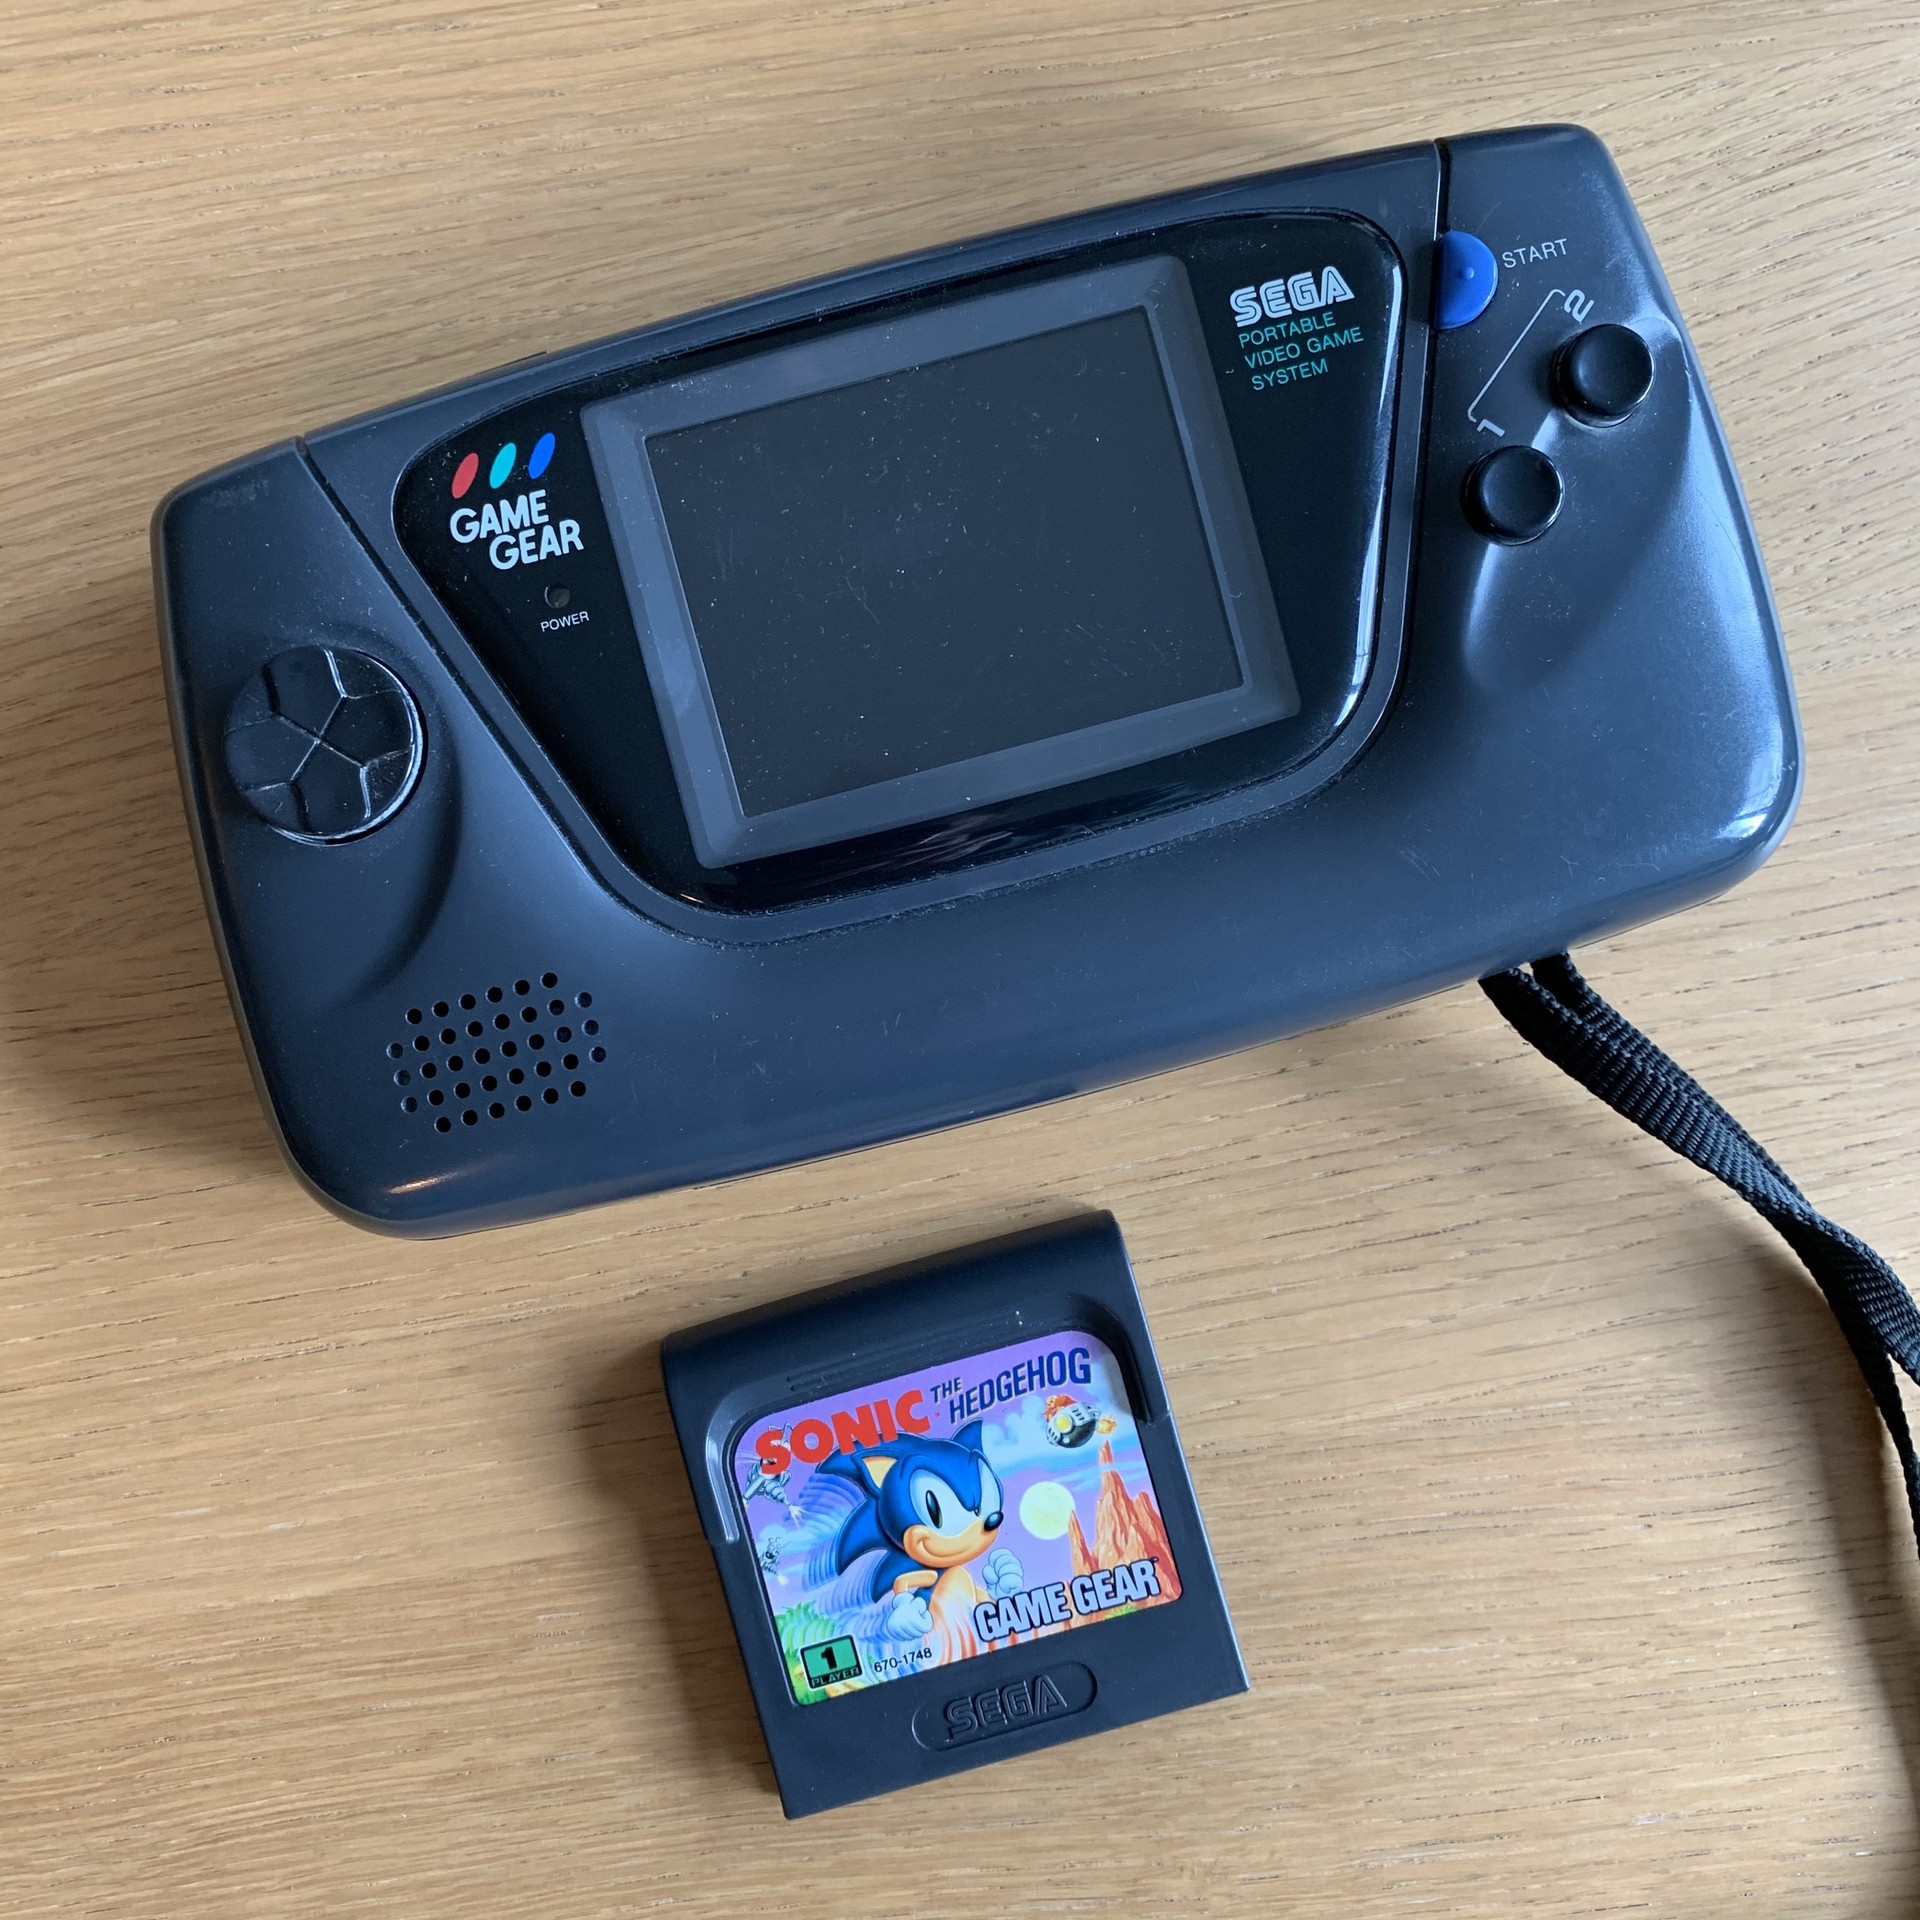
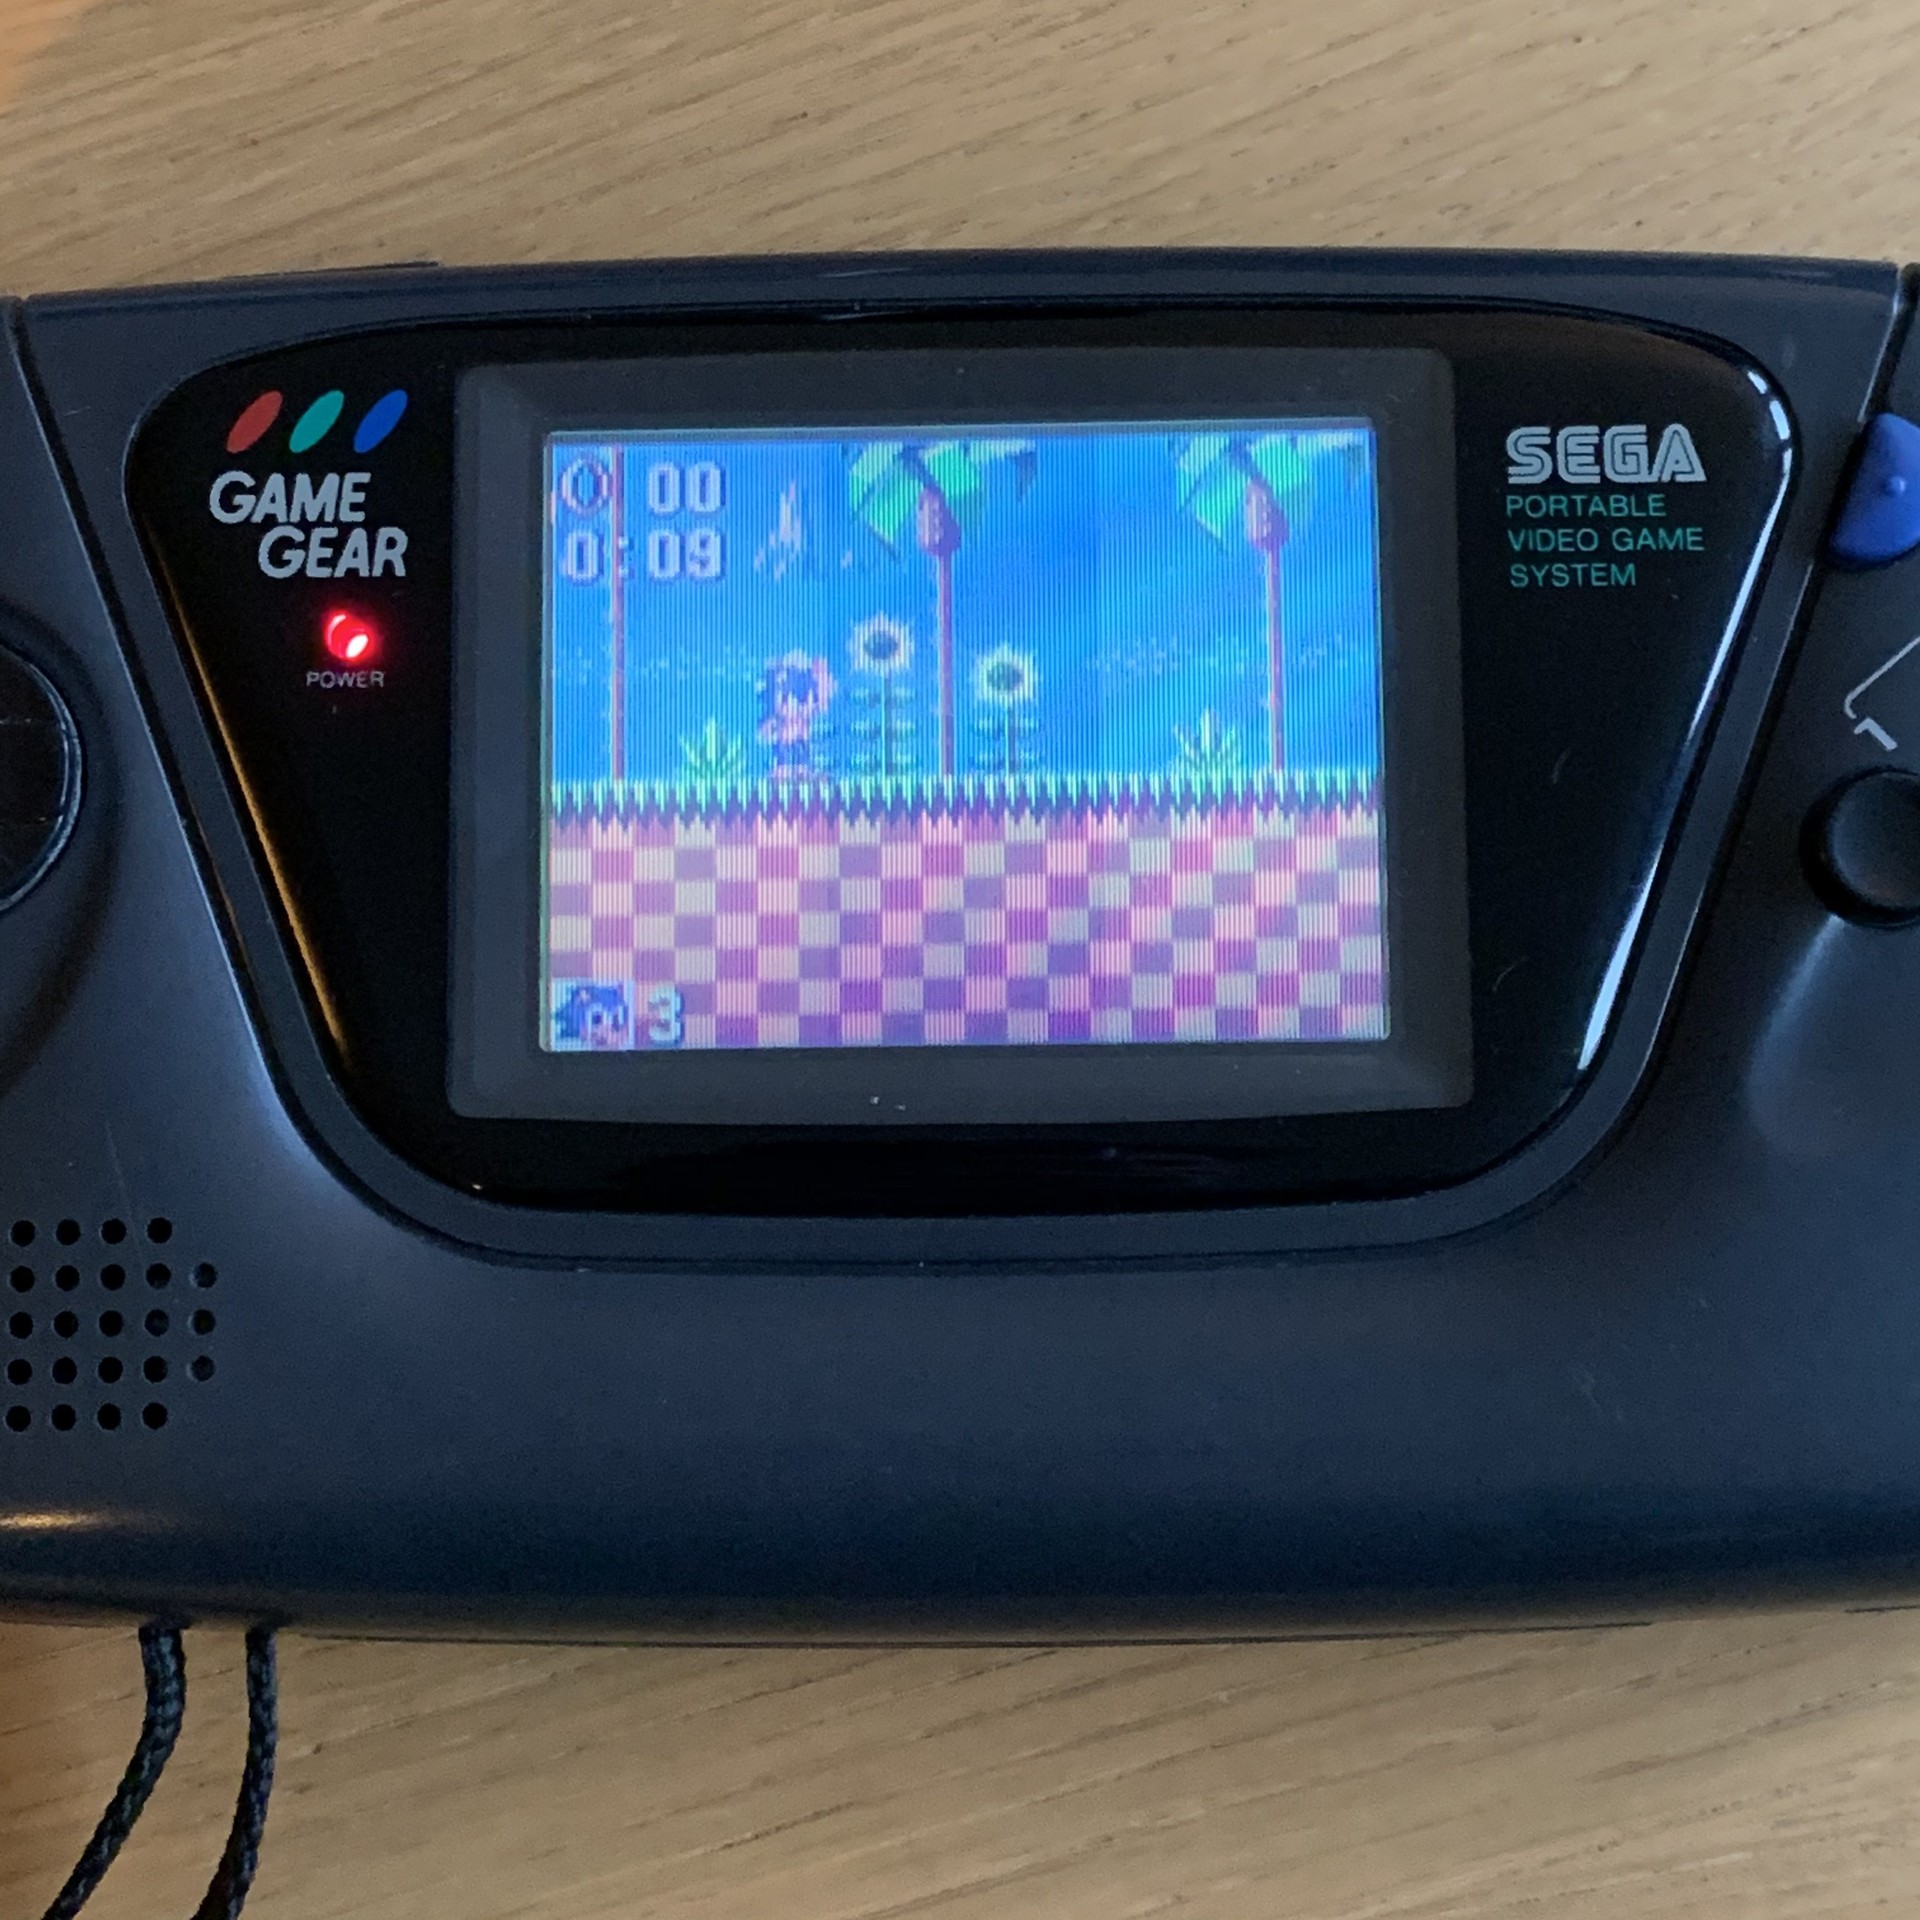
In the end, the Game Gear is alive! It works, but it’s big and heavy and the ghosting on the screen is terrible. I mean, the Game Boy had ghosting too, but I can understand why it outsold the Game Gear 10 to 1. You can still see some banding on the screen, I’m not sure if that’s because of my amateur level soldering skills or that it’s just how the game gear is.
I still have another Game Gear in even worse condition which I might restore on a rainy day and install a modern screen from Hispeedido or BennVenn, along with a new power board and sound board! There are a lot of mods to be done for it, super cool!